My Design Process
This is my approach to design that I have been tweaking and improving over the past 10 years.
I have come to realise over the years that the quicker I get my hands on a design, the sooner I find it's flaws (we all makes mistakes, even me). And there is no way faster way to get your hands on a design than through code.
My proficiency in CSS and other front end languages means that once I move past a "white board sesh", I'm ready to start bringing our ideas to life. This means we get things closer to their final form (in a web browser) sooner rather than later. Now we can play with the design on our mobiles, iPads, or laptops and reveal any roadbumps that don't play out in the perfect Figma or Sketch files we have.
How I approach product design
Step 1: Design Sprints
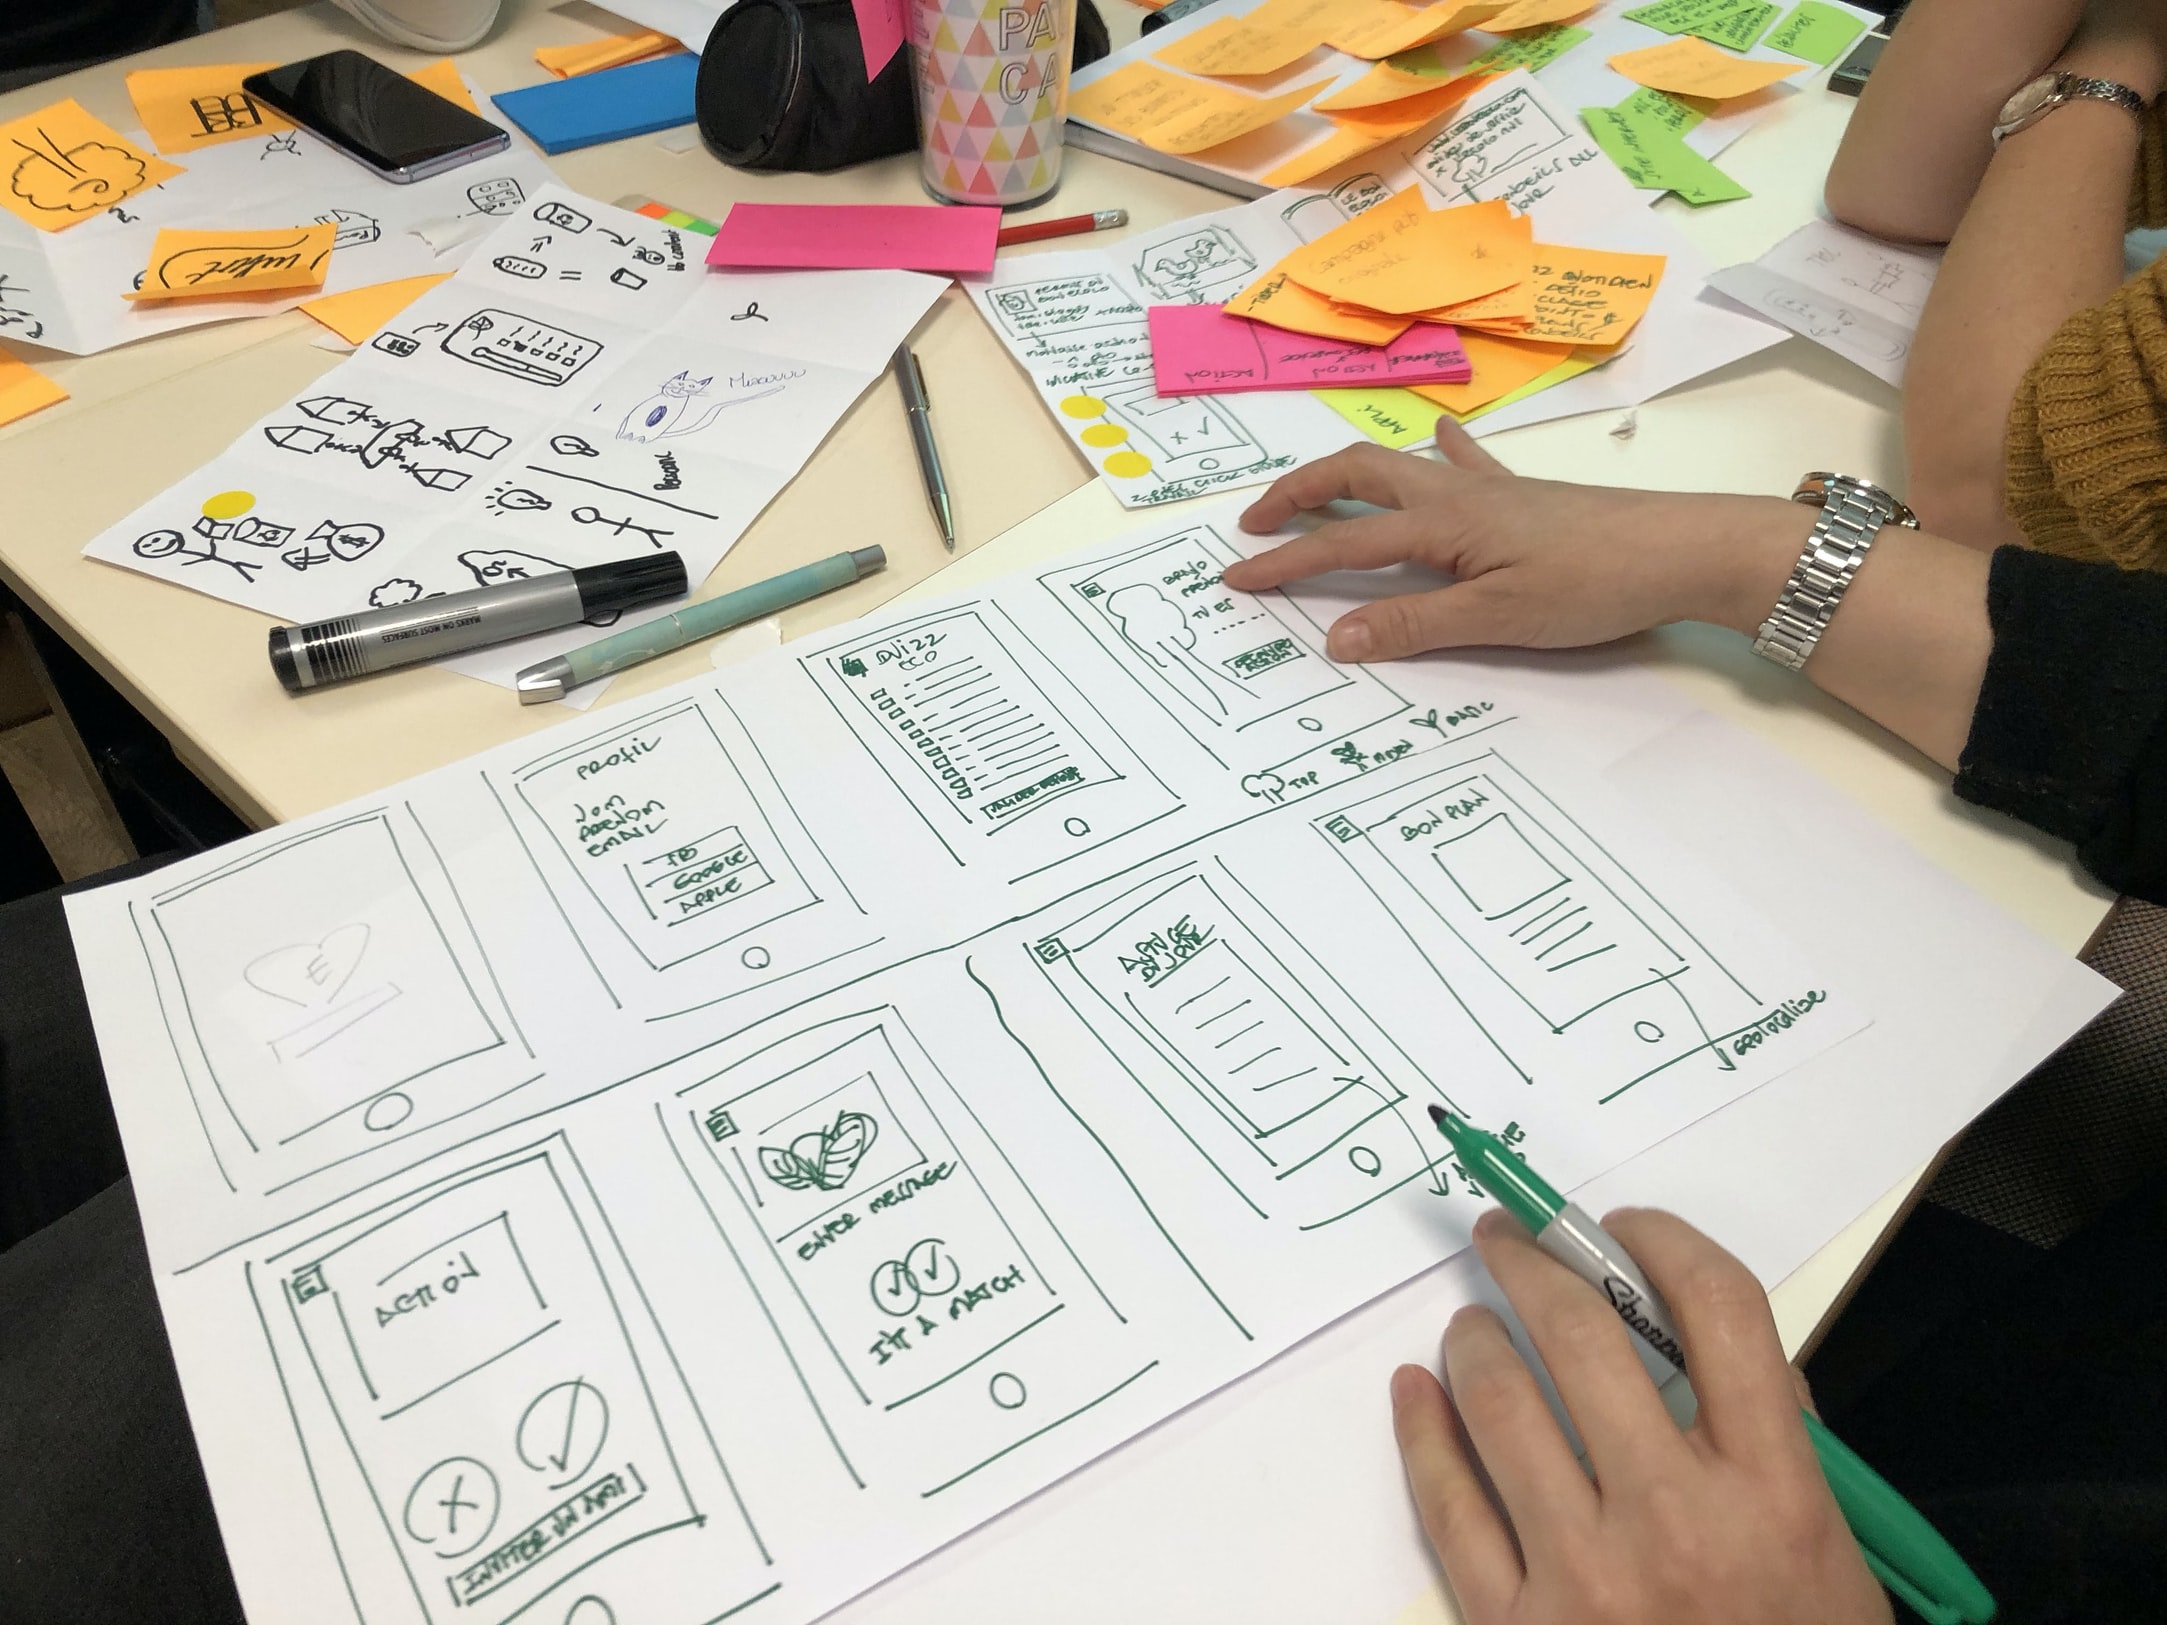
I generally run my own version of a Design Studio which focusses on rapid concept generation, critiquing these concepts and then collectively committing to an idea. These can run anywhere between 2-5 days and generally requires at least 3 particants. Preferably the participants should come from different disciplines so that the perspectives (content, technical, business) remain diverse. The real value in this approach comes from the stakeholder buy-in. If the group seemingly comes up with the idea "together" then everyone has skin in the game, meaning higher engagement throught the products lifecycle.

The output of the Design Studios are often physical pieces of butcher paper or the like which hopefully have little sketches. The idea is that they are all saying the same thing after the amalgamation of everyone's ideas over the iterations. From here I'm ready to bring these ideas to life.
Step 2: Protyping / UI Design
Using the sketches from the Design Studio we now start turning the ideas on paper into workflows and interfaces within the web browser. You don't get any higher fidelity design than you do in it's final form.

As we are testing while we go, we weed out any obvious issues with the sketches once they are translated to the browser. Once I have a working prototype it's now on to testing.
Step 3: User testing
User testing comes in many different flavours, the approach taken ultimately comes down to resources and time available to the project.
If I'm designing a brand new product I like to get the prototypes in front of the target market as soon as possible to make sure the product fits. Otherwise, if this is an existing product but perhaps a new feature, then there is opportunities for A/B testing with the existing customer base.

If none of the above is appropriate, I continue to test the product internally and with any relevant stakeholders to prove that the designs work. Ie repeat the design and test process until I think I've got it right.
Step 4: Development and polish
After the design figures itself out, we can now commit to writing any backend code needed to power the app as well as polish off any parts of the design that need love.
When I do things a little different
If I'm working on something like components for a design system where I am typically collaborating with a team of designers and multiple high fidelity variations are required, then I would take the traditional approach.
The early steps of concept generation and requirement gathering remains the same but I would spend more time in design tools such as Figma before moving in to code.

